Roof replacement is one of the most significant home improvement projects a homeowner can undertake. The process restores the integrity of your home’s structure, enhances curb appeal, and increases long-term property value. However, while many homeowners focus on choosing materials and hiring a contractor, fewer are prepared for what happens on the actual day of replacement. Understanding what to expect can reduce surprises, ease stress, and help ensure the project runs smoothly from start to finish. We will explore the key steps during roof replacement day and how you can best prepare your home and family. With the right preparation, you can avoid common disruptions and feel confident watching your old roof come down and your new one go up.
Preparing for a Successful Roof Replacement Day
-
Early Morning Arrival and Set-Up
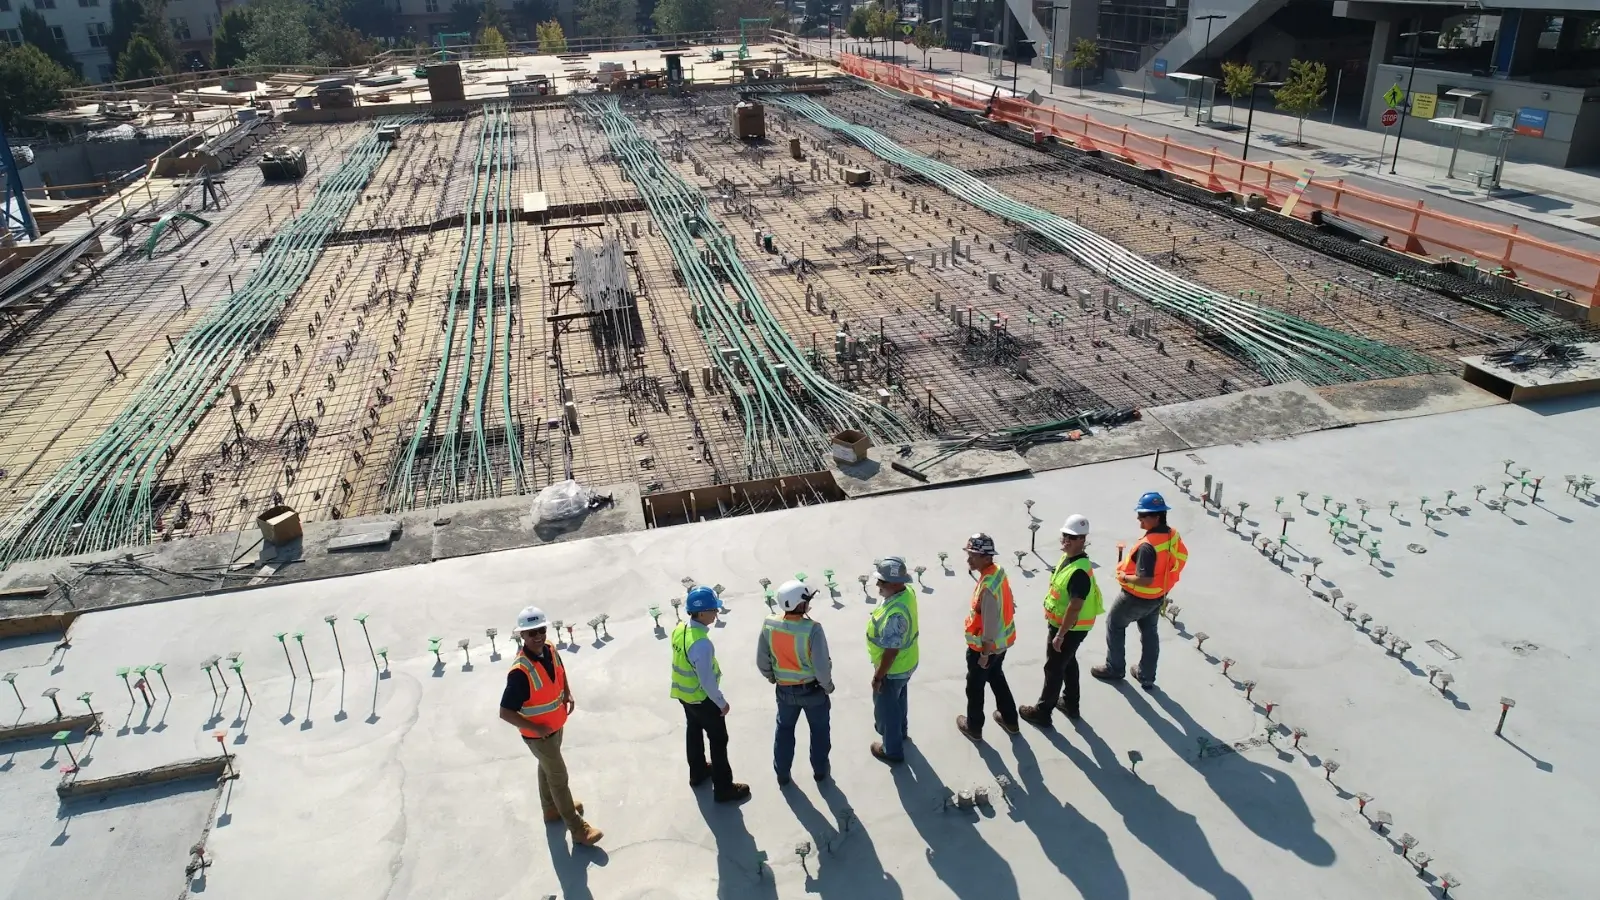
Expect the roofing crew to arrive early, often between 7 and 8 a.m., to take full advantage of daylight hours. Before any work begins, the crew will prepare the site by setting up ladders, staging materials, and placing protective tarps around landscaping, siding, and outdoor furniture. This preparation minimizes potential damage from falling debris and shingles. Depending on the size of your roof and the number of workers, your yard may temporarily look like a busy construction zone. Parking access is another consideration; you may need to move vehicles away from the driveway or garage to provide space for disposal bins and material deliveries. Noise will begin as soon as the tear-off starts, so sensitive household members, pets, or children should have alternate accommodations if the disruption would be too difficult. Maintaining communication with the foreman is essential to clarify where work areas are marked off and ensure safety precautions are in place. If you hired Five Star Improvements for the project, you can expect their team to brief you on site-specific plans and answer any last-minute questions before the first shingles come down.
-
The Tear-Off Process and Inspections
The first major phase of roof replacement involves tearing off the existing roofing materials down to the decking. Workers will use roofing shovels and pry bars to remove old shingles, underlayment, nails, and flashing. This stage is noisy, dusty, and labor-intensive, with debris tossed from the roof into large dumpsters or tarps below. Once stripped, the crew will inspect the underlying wooden decking for damage, rot, or soft spots. If issues are found, repairs will be made before new materials are installed to ensure a solid foundation for the roof. This inspection is crucial because it identifies hidden problems that would compromise the lifespan of your new roof if left unaddressed. During this phase, your contractor may pause work to show you problem areas or get your approval for additional repairs. While it can be unsettling to see unexpected issues arise, it’s far better to resolve them now than cover them up. Depending on weather conditions and crew size, the tear-off and inspection could take several hours to most of the day.
-
Installation of Underlayment and Shingles
The crew will install the underlayment once the decking passes inspection and repairs are complete. This protective layer acts as a moisture barrier and provides an extra line of defense against leaks. Synthetic underlayments are commonly used today for their durability and water resistance. After underlayment, the crew will install starter strips, flashing around chimneys and vents, and then begin laying the shingles or other roofing material you selected. Installation proceeds systematically from the lower edges upward toward the ridge. You’ll hear hammering, nail guns, and workers moving quickly across the roof to keep pace. The timeline for installation varies depending on roof complexity, slope, and weather. A standard asphalt shingle roof may be completed in one day, while larger or more intricate roofs could extend into a second or third day. During installation, it’s wise to limit outdoor activities for safety reasons and avoid walking too close to work zones where debris might fall unexpectedly. Roofing nails and small materials can scatter around the property, so be cautious when navigating paths or driveways until the final cleanup.
-
Cleanup, Final Inspection, and Walkthrough
As installation wraps up, the crew will begin a detailed cleanup process. Tarps are removed, leftover materials are loaded back onto trucks, and a magnetic roller is used to sweep the yard and driveway for stray nails and metal fragments. Roofing debris will be hauled in the disposal bin, leaving your property as close to its original state as possible. The crew foreman or project manager conducts a final inspection to verify all roof components meet manufacturer guidelines and workmanship standards. They will check flashing, ridge vents, shingle alignment, and finish quality. Before officially concluding the job, your contractor should conduct a walkthrough with you, pointing out critical features and answering any maintenance or warranty questions. This is an ideal time to clarify paperwork, confirm warranty coverage, and receive tips on roof care. You’ll also want to ensure all promised cleanup tasks have been completed to your satisfaction before signing off on the project. Taking photos of the finished roof can provide a helpful reference for your records in case any issues arise later.
A roof replacement is a major project that transforms your home's function and appearance in just a short time. While the day of replacement involves significant noise, disruption, and activity, understanding what happens at each stage helps set realistic expectations. By preparing your home and communicating with your contractor beforehand, you can avoid everyday stressors and ensure a smoother process. From early morning arrival to final cleanup, each phase of roof replacement is designed to build a durable, long-lasting roof that protects your home for years to come. Taking a proactive role by asking questions, clearing work areas, and reviewing final work helps make the experience collaborative and transparent. A well-managed roof replacement not only restores your home’s structural integrity but also provides peace of mind knowing your investment is built to withstand the elements.


