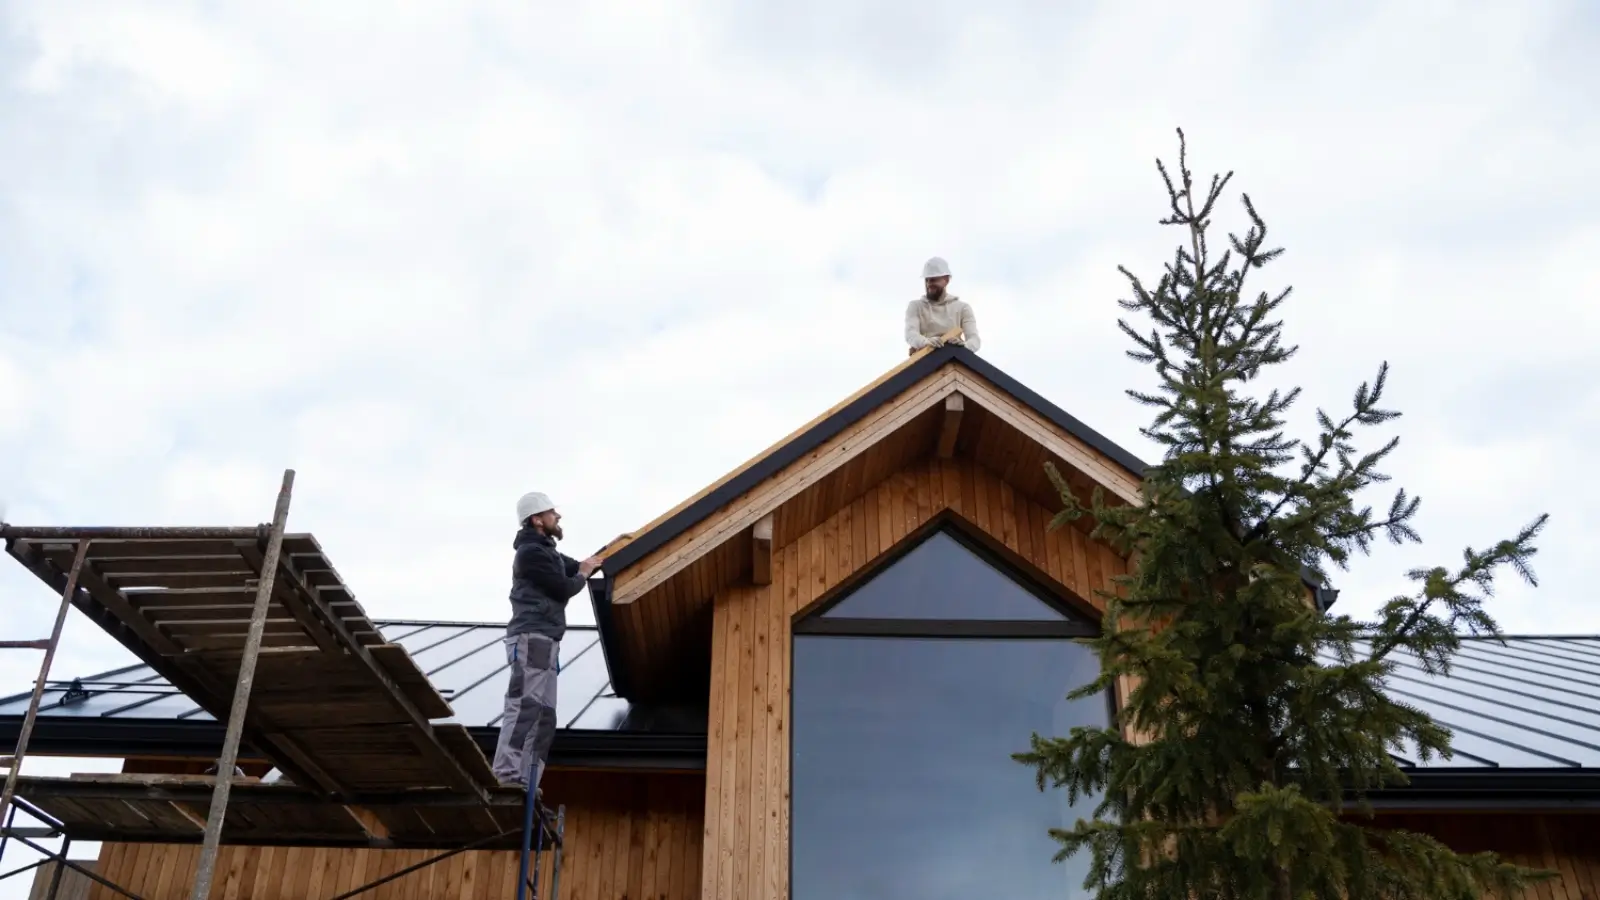


Syracuse residents know that each season brings a new challenge—from heavy snow and freeze-thaw cycles in winter to pounding rain and high winds during storm season. With such extreme weather fluctuations, your home’s first line of defense—its roof and gutter system—needs to be ready year-round.
Many homeowners wait until a leak or blockage demands attention, but smart preparation prevents damage before it starts. Whether you’re facing ice, hail, or high winds, a weather-ready roof and properly installed gutters can make the difference between costly emergency roof repair and a quiet, damage-free season.
Professionals like Hometown Exteriors understand the importance of proactive storm-proofing. Here’s how to get your roofing system ready before the weather takes a toll.
Syracuse is notorious for its long winters and high annual snowfall. Add to that intense rainstorms, windy springs, and freezing fall temperatures, and it’s clear that local roofs need to withstand a wide range of abuse.
Common seasonal stressors include:
Snow buildup leading to ice dams
Rain driving under flashing or loosened shingles
High winds lifting or damaging shingles
Clogged gutters causing overflow and structural erosion
Freeze-thaw cycles expanding small cracks into major leaks
Your preparation strategy should account for all of these risks—not just the most recent forecast.
Before the weather shifts dramatically, inspect your roof—or have a roofing company do it—for early signs of wear. Even minor issues can escalate when exposed to storm conditions.
Focus on:
Loose or curling shingles: These can lift or detach in wind.
Cracked or missing flashing: Gaps allow water to seep underneath.
Damaged ridge caps or vents: Wind and water often infiltrate through poorly sealed components.
Exposed nails or fasteners: These can rust and fail, compromising structural integrity.
Shingle deterioration is one of the first indicators that a roof may not hold up to high wind or snow. Addressing it through timely roof repair can prevent much bigger problems down the line.
Flashing—the metal strips that protect joints and transitions—is often the most vulnerable part of a roof. High winds can loosen flashing, and heavy rain can penetrate around chimneys, skylights, or valleys where flashing has separated or corroded.
Sealant around penetrations should also be checked. Over time, caulking dries out and cracks, creating small openings for moisture intrusion.
A seasonal check of these areas, especially before winter or storm season, helps ensure water stays out and the roof deck remains intact.
Even a structurally sound roof can fail if water can’t drain away properly. Gutters are your roof’s support team—directing water away from vulnerable areas like fascia, soffits, and foundation walls.
Seasonal gutter installation errors or neglect can result in:
Overflow that soaks siding or backs up under shingles
Ice dams in winter from trapped meltwater
Sagging sections that pull fascia away from the home
Soil erosion near your foundation
Be sure to:
Clean leaves, sticks, and debris from all gutters and downspouts
Check for loose brackets, which can fail under snow weight
Ensure downspouts are discharging at least 5 feet away from the home
If you’re not sure about the effectiveness of your current setup, consider consulting a professional to evaluate whether your gutter installation meets the demands of your home’s roof size and slope.
Falling limbs are a leading cause of storm-related roof damage. Overhanging trees can scratch shingles, drop branches, or introduce pests if not properly managed.
Before storms strike, it’s wise to:
Cut back branches at least 6 feet from the roof
Remove any dead or diseased trees near your home
Clear leaves and moss buildup from flat roof sections or dormers
Keeping the space above and around your roof clear is just as important as maintaining the structure itself.
A little-known but critical part of storm resilience is proper attic ventilation. Without it, trapped warm air causes snow to melt unevenly on the roof, creating ice dams that lead to shingle damage and water penetration.
Your ventilation system should:
Allow air to enter through soffit vents and exit through ridge or gable vents
Keep attic temperature consistent with outdoor temperature during winter
Prevent condensation that can warp the roof deck or promote mold
A simple attic inspection can reveal warning signs like frost buildup, mold spots, or uneven insulation.
Chimney caps, satellite dishes, and rooftop HVAC units should be anchored before storm season. Anything loosely attached can become a projectile during wind events or may break off and damage shingles and flashing.
Also, inspect pipe boots and vent collars. These rubber or plastic coverings degrade faster than shingles and can create a weak point on an otherwise solid roof.
A thorough check by a licensed roofing company ensures every piece of your system is storm-ready.
Even the best preparation can’t prevent every outcome. Having an emergency response plan can reduce panic if damage does occur. Keep the following ready:
A trusted contact for local roofing and gutter repair
A tarp and roofing nails to patch visible damage temporarily
Documentation tools (phone, notebook) for quick insurance claims
This level of readiness helps you respond quickly, minimizing further harm from water exposure or wind.
While DIY inspections can catch basic issues, only a trained roofing company can evaluate underlying risks and system weaknesses. An annual or semi-annual inspection by a qualified contractor allows for early intervention, budget planning, and peace of mind during storm season.
Companies like Hometown Exteriors understand the unique weather patterns of the region and can recommend targeted solutions for both roofing and gutter protection.
Storm-proofing your home starts with understanding how interconnected your roof and gutters really are. From snowmelt to sideways rain, every weather event tests your roof’s ability to perform under pressure.
Through timely inspections, smart gutter installation, proactive roof repair, and a commitment to seasonal preparation, you can avoid emergency calls and enjoy worry-free storms—even in Syracuse’s harshest months.
Preparation isn’t about reacting to the forecast—it’s about building a structure that’s ready for anything.