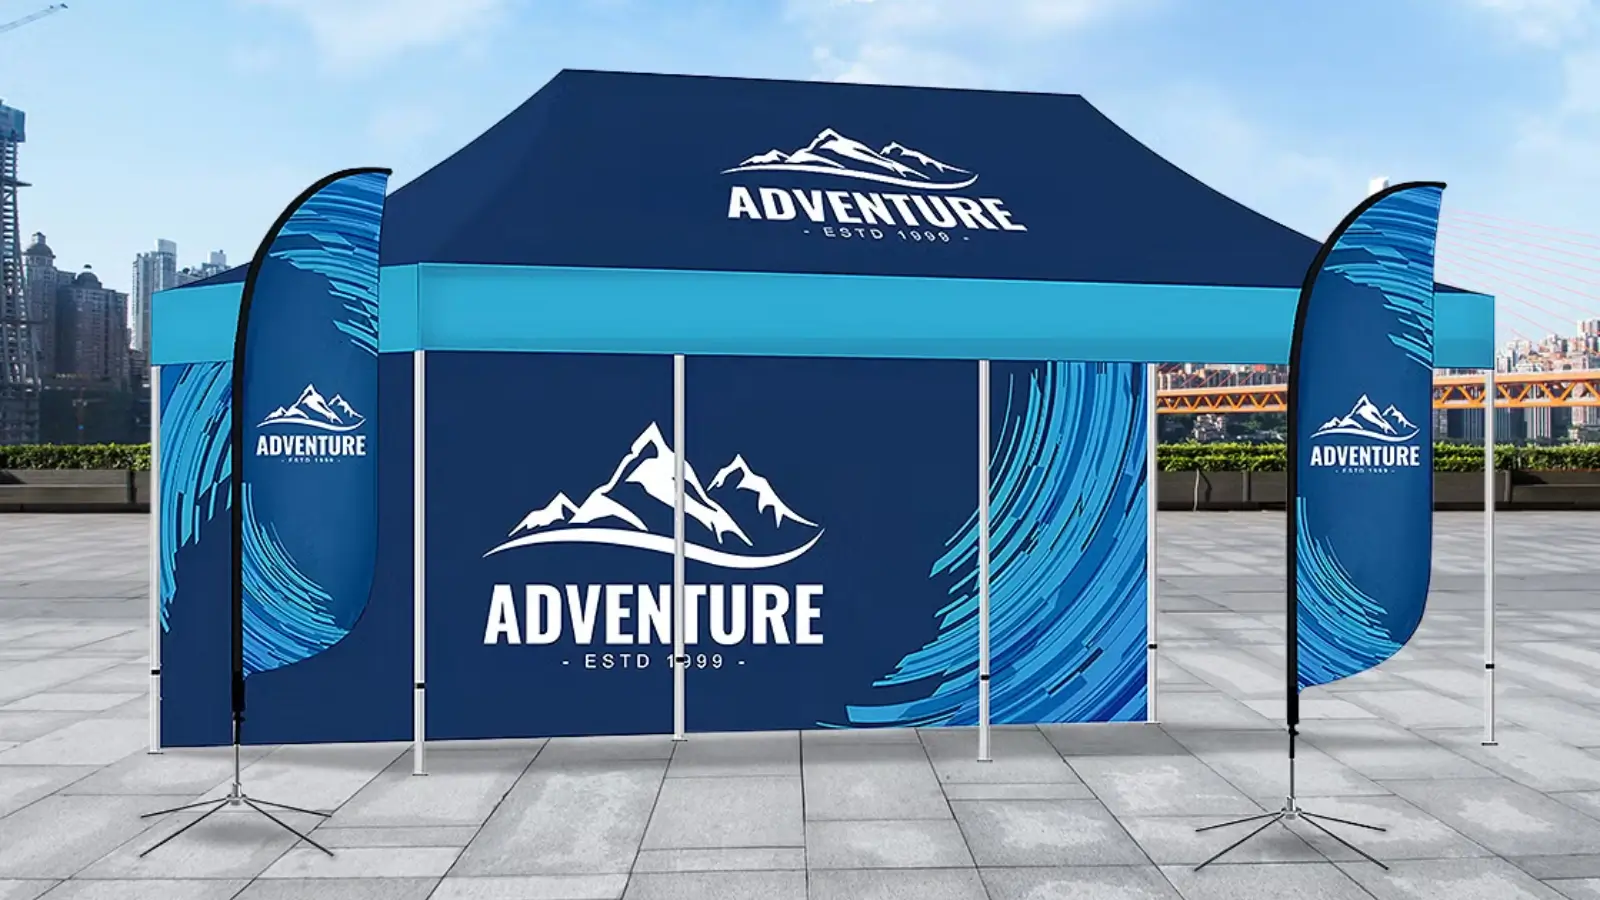


Expos are noisy places. You have only a few seconds to catch a visitor’s eye and a few minutes to turn curiosity into a conversation. A compact plan, reliable gear, and a smart layout will get you far. Choose quality components to ensure your booth performs well under pressure, such as heavy-duty aluminum frames that keep tents and canopies steady during frequent use and windy conditions when set up outdoors. Pair those frames with weatherproof fabric that resists fading, reinforced corners and zippers that stand up to repeated setups, quick-lock feet for simple, tool-free assembly, and rugged transport bags that protect your graphics on the road. Together these small upgrades mean fewer surprises on show day and more time to do what really matters: meet people and start conversations.
Design choices that look appealing in photos may cause headaches in the venue. Here are practical choices that make life easier on event day:
A good expo layout is welcoming without crowding the floor. Use these tried and tested layout rules:
High-quality art and printing show visitors you take your brand seriously. When designing graphics:
Many providers offer free design help when you buy a package. That support accelerates the process and keeps files print-ready. It also helps when you need quick changes before a show.
Here are common items to include in a reliable expo kit and why they help:
For table surfaces, branded textile covers are a low-cost upgrade that makes your table look intentional. If you want a branded table piece that draws visitors to your demo, consider investing in logo-printed table covers. This small change helps your table appear as part of a cohesive booth.
Even indoor halls can be humid or drafty. Use these tips to ensure that your booth remains safe and secure:
Some companies offer lifetime warranties or extended coverage on certain parts. That warranty can be a strong reason to buy instead of rent when you attend many shows.
A package usually lists what is included and what is optional. Use this simple checklist when comparing options:
Packages often come in tiers. Begin with the most essential items you require immediately, and consider adding optional upgrades that address real challenges. For example, a double-sided flag adds visibility in crowded aisles. A stretch table cover can make an older table look new.
When you find a vendor you trust, ask these questions to confirm the time your orders will arrive:
Some suppliers will print, quality check, and ship products in a matter of days with standard delivery in a couple of weeks. If you have a tight schedule, confirm rush options early.
A strong display is only as effective as the people running it. Train your staff to:
Use a quick script and role-play before the first day. This rehearsal prevents fumbling and builds confidence.
After the show, your job is to convert interest into action and to keep gear in top shape.
If you plan to attend many shows, track where your kit performed well and where it needs improvement. That will guide future upgrades.
A final quick tip is to create a packing list and verify items off as you load everything. This helps prevent last-minute returns and forgotten pieces.
A reliable package and clear plan will make expos feel less chaotic and more productive. The right tent, the right graphics, and a few branded items make a big difference in how professional your presence looks. If you choose a prebuilt package, you can skip vendor management and focus on what matters most, which is the people you meet at the show.