Creating cards has never been easier. With digital tools available today, you can skip the trip to the store. There's no need for expensive software or design skills.
Anyone can now create cards online for free in just a few clicks. Whether it's for birthdays, holidays, or thank-you notes, making custom cards is quick and simple.
All you need is a bit of creativity and the right platform. Start exploring ways to personalize your greetings below.
Choose the Type of Card You Want
Before anything else, decide the purpose of your card. Is it for a birthday, a wedding, or a casual thank-you message?
Choosing the type helps you focus on layout and tone. Each category may require a different color theme or design. For example, a sympathy card won't use bright colors.
Pick one theme and stick with it. This avoids confusion and keeps your design clean. Matching visuals with message type helps the final result look more polished. Knowing the card type also guides your word choices.
Pick a Template That Fits the Occasion
Templates save time and effort. Instead of starting from scratch, choose a design that fits your event. Most tools offer ready-made layouts for all types of greetings.
Pick one that matches your style or message. You can always adjust colors, fonts, and images later. Templates are especially helpful if you're in a rush.
They make the design process faster and less stressful. Look for templates with space for both text and visuals. That keeps your message balanced.
Customize the Text
Once you have your layout, update the text. Replace the placeholder content with your own message. Be clear and personal with your words.
Avoid long sentences or vague lines. Keep it short, warm, and straight to the point. Use language that sounds like you.
Don't overthink the writing-just keep it sincere. Adjust font size and style to match the tone. Read it aloud once to make sure it flows naturally.
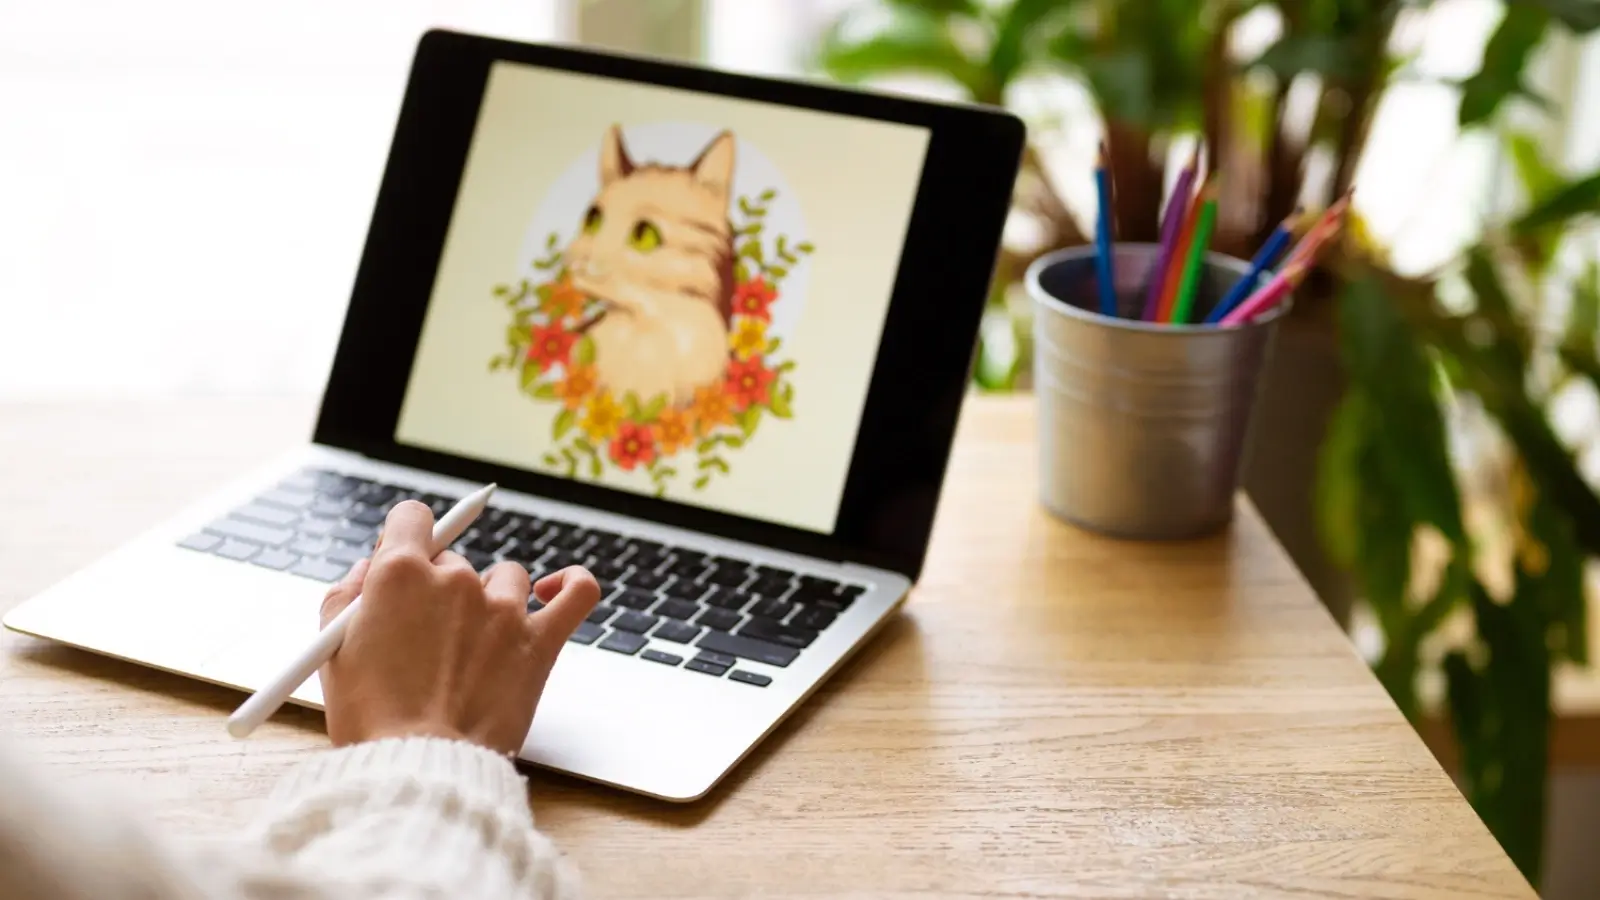
Add Images or Graphics
A good card needs the right visuals. Upload your own photos or choose from a built-in image library. Photos make cards feel more personal. For special occasions, include a memorable picture.
Graphics, icons, or simple drawings can also work well. Make sure they match the theme and color scheme.
Avoid using too many elements in one space. Keep things simple so the message stays clear. Try different placements to see what looks best.
Adjust the Color Scheme
Color plays a big role in design. Choose tones that suit the message of your card. For romance, go for soft pinks or reds. For a party invite, try bold or bright colors.
Keep the color palette consistent across the card. Avoid clashing shades that are hard to look at. If the template has preset colors, you can usually tweak them.
Just one or two changes can make a card feel more "you." Make sure the text stands out from the background. Good contrast improves readability.
Add Shapes or Borders
Extra details can help make your card look complete. Borders add structure to your layout. Shapes can draw attention to parts of your card, like the name or main message.
Use them sparingly, though. Too many can distract from your text. Try adding a simple frame around the card or image box. Circles, hearts, or stars can add a fun element.
Make sure they blend well with the overall theme. Shapes should guide the eye, not clutter the space. Keep the layout balanced and clean.
Include a QR Code or Website
If your card includes more than just a message, link to it. Add a QR code or short web link for event details, RSVP, or photo albums. It makes the card interactive. If you're designing cards for events like conferences or expos, consider how the cards will pair with other materials such as ID tags or get to know how long are lanyards to ensure everything fits and functions together smoothly.
Many card makers let you drop in a QR code easily. Keep it in a corner or the back so it doesn't take over the design. Make sure it scans well before finalizing.
Test it with your phone to double-check. This is a useful tip for digital invites. You can also use it to link to gift registries or donation pages.
Preview Before Finalizing
Before you hit send or print, check your work. Preview the card from top to bottom. Look at the spacing, fonts, and alignment. Make sure the message is spelled right and the images load well.
Review how it looks on both desktop and mobile, and if it's digital. A clean layout will feel more polished. Adjust anything that feels off. It's better to catch mistakes now than later. Use this time to make small improvements.
Download or Print Your Card
Once you're happy with the preview, download the final version. Choose the format based on how you'll share it - PDF for print, PNG for digital. Save a copy on your device just in case.
If printing, use quality paper for the best result. Double-check print settings to avoid margins cutting into the design. For online sharing, keep file size light for easy sending.
Some platforms even let you schedule a send. This step completes your design process. If you want more control, you can even explore tools made to design your card generator style from scratch.
Save for Future Use
If you plan to send similar cards in the future, save your work. Most card tools allow you to create an account and store projects. This helps when making edits later.
You can swap out names or photos while keeping the layout. It's also useful if you want to send updates later, like thank-you notes after an event.
Label saved cards with names you'll remember. Reusing past work saves time. You'll build a collection of ready-to-go designs. Make this part of your creative workflow.
Send It with Confidence
The final step is to share your card. If digital, email or message it directly. If printed, send it through regular mail. Either way, make sure the person receives it on time.
Add a short personal note if possible. A thoughtful card stands out more than a generic message.
Take pride in what you made. You've taken the time to create something original. That makes it worth more to the person receiving it.
You Can Create Cards Online Free in Just Minutes
Creating cards online is simple, fast, and personal. You don't need design skills to make something that stands out. With the right tools, you can build thoughtful cards in just minutes.
From templates to color picks, each step lets you shape it your way. Keep the process fun and easy. Start crafting your own cards today.
Visit our blog for more topics!