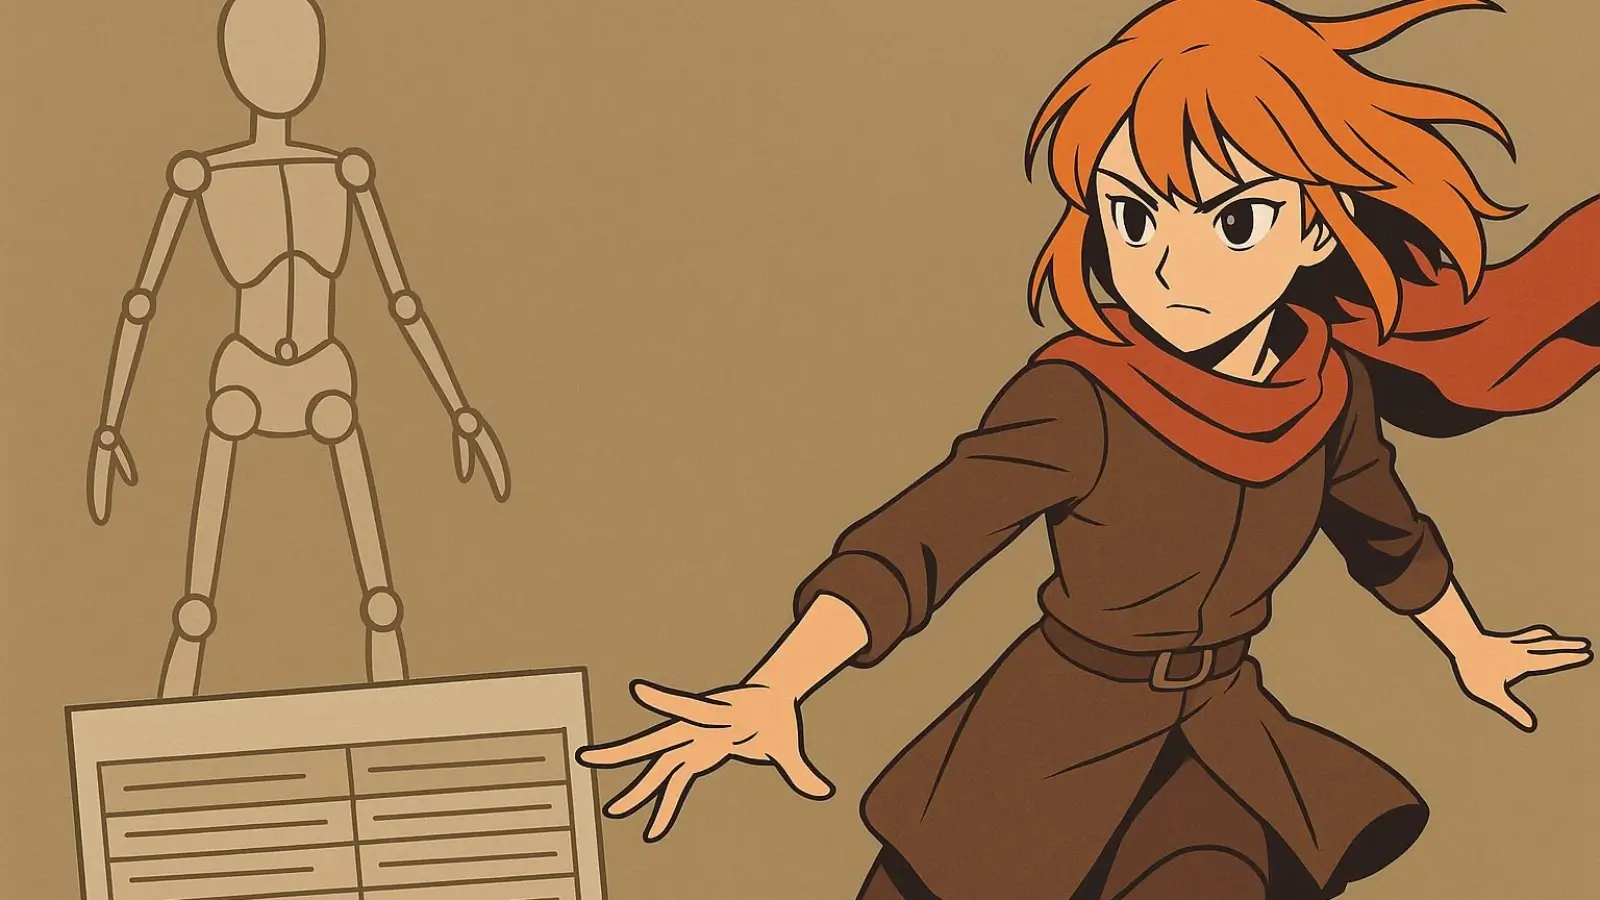


Good character art starts with a clear pose. If the stance tells the story—where the weight sits, how the torso turns, what the hands are doing—everything that follows (lines, color, effects) feels intentional.
Below is a practical method you can reuse from rough sketch to export, trimmed of filler and light on theory:
Don’t open brushes yet. Jot a single sentence that fixes mood, camera, and moment:
“Low camera, sprint launch, cape trailing, eyes forward.”
Keep that line visible while you work. It prevents fussy details from steering the drawing off course.
Sweep a single line of action and two or three supporting curves. Think rhythm and balance only.
Block rib cage, pelvis, limbs, and head with simple boxes and cylinders. Tilt rib cage and pelvis against each other—energy lives in that twist.
Fill the figure as one shape. Step back. Could someone read the pose at arm’s length? If not, adjust the angles and the negative space around hands and props.
Quick habit: flip the canvas every few minutes. If it collapses when mirrored, proportions are drifting.
Blend sources: a sports photo for legs, a fashion shot for hands, a film still for lighting. When you want to quickly audition readable gestures and camera angles, try a searchable pose tool such as the AI pose generator on OCMaker AI. Grab a starting pose, then redraw it in your style—change proportions, tweak the line of action, and design the costume from scratch.
Practical note. Work from references you’re allowed to use. Get consent for real people. Avoid lifting distinctive designs unless you’re transforming them into something new.
Stylization isn’t “less anatomy,” it’s choosing the right cues.
Hands: Build two grouped shapes (index–middle together, ring–pinky together). Split later for clarity.
Elbows/Knees: Show sharper structure only on the compression side of a bend; soften the extension side.
Torso: Egg for rib cage, box for pelvis. Keep their relative tilt obvious.
Neck/Head: A simple wedge and a V-hint of the sternocleidomastoid sells turns; for youthful faces, keep the neck clean in front views.
Weight your lines. Thicker on shadowed or weight-bearing edges; thinner on lit, delicate areas.
Stage overlaps. Where forms cross (wrist over forearm, thigh over calf), sharpen and darken the front edge. Depth appears instantly.
Stabilize, don’t freeze. Light stabilizer keeps energy in long curves while stopping micro-wobble.
Pick a single key light (¾ front for safe, top-down for drama, rim for heroic).
Shift hue in shadow (cooler shadows under warm light and vice versa).
Name one accent color (scarf, magic glint, eye highlight) so the palette doesn’t sprawl.
For skin, a gentle multiply pass for form and a subtle soft-light sweep on cheeks, nose bridge, knees, and shoulders adds life without noise.
Anime rendering prefers clean planes with selected texture.
Hair: Start with three to five big shapes, then mid-strands that follow flow; add a few flyaways last.
Cloth: Anchor folds to pull points—elbows, knees, waist. Don’t sprinkle wrinkles everywhere.
Effects: Keep FX in their own group: base glow → interior glow → a few sparks or dust. Use screen/add sparingly to avoid a hazy image.
You don’t need to reinvent the wheel each time. Pose searchers, mannequin apps, and kitbash libraries are fine for ideation if you redraw decisively. If you’re exploring a broader toolset for planning and asset prep, OCMaker AI is a handy hub to bookmark; use it for quick tests, then finish by hand so the work still looks like yours.
|
Step |
Aim |
Watch For |
Output |
|
Gesture |
Energy & balance |
Clear line of action; weight placement |
800–1200 px rough, low opacity |
|
Structure |
Perspective & volume |
Rib–pelvis tilt; foreshortening |
Simple forms on a new layer |
|
Silhouette |
Instant readability |
Tangents; crowded negative space |
Filled shape; quick thumbnail |
|
Line |
Priority & depth |
Weighted edges; sharp overlaps |
3000–4500 px canvas |
|
Flats |
Clean selection |
Consistent palette; layer names |
One folder per material |
|
Light |
Mood & form |
One key light; hue-shifted shadows |
Clipped groups, masked lights |
|
Finish |
Focus control |
Over-bloom, noisy texture |
Top-level adjustments only |
Stiff pose: Nudge pelvis and rib cage 5–10° apart, offset the feet, and tilt the head slightly off center.
Tiny hands: Compare to face—roughly chin to eyebrow in length.
Flat eyes: Add a small secondary catchlight and a faint shadow from the upper lash line.
Crowded frame: Pull props away from the silhouette or shift the camera to open negative space.
For screens, export PNG at 3000–4500 px on the long side. For print, work at 350–600 dpi at final size. Keep deep blacks around RGB (10–20) to avoid ink-heavy mud. Always keep a layered master with masks intact.
Pick one category—running, jumping, twist-and-reach, kneeling—and follow this daily plan:
Five 30-second gestures
Two 5-minute structure passes
One 20-minute clean pose
On Friday, render a full character using the strongest Monday gesture. In a month you’ll have a personal library of poses that read at a glance and feel unmistakably yours.
The future of anime design isn’t about replacing the artist — it’s about optimizing the process. Tools like OCMaker AI give creators a head start, turning pose generation and composition testing into minutes instead of hours. For creative teams balancing art direction and deadlines, that speed isn’t just convenience — it’s competitive advantage.