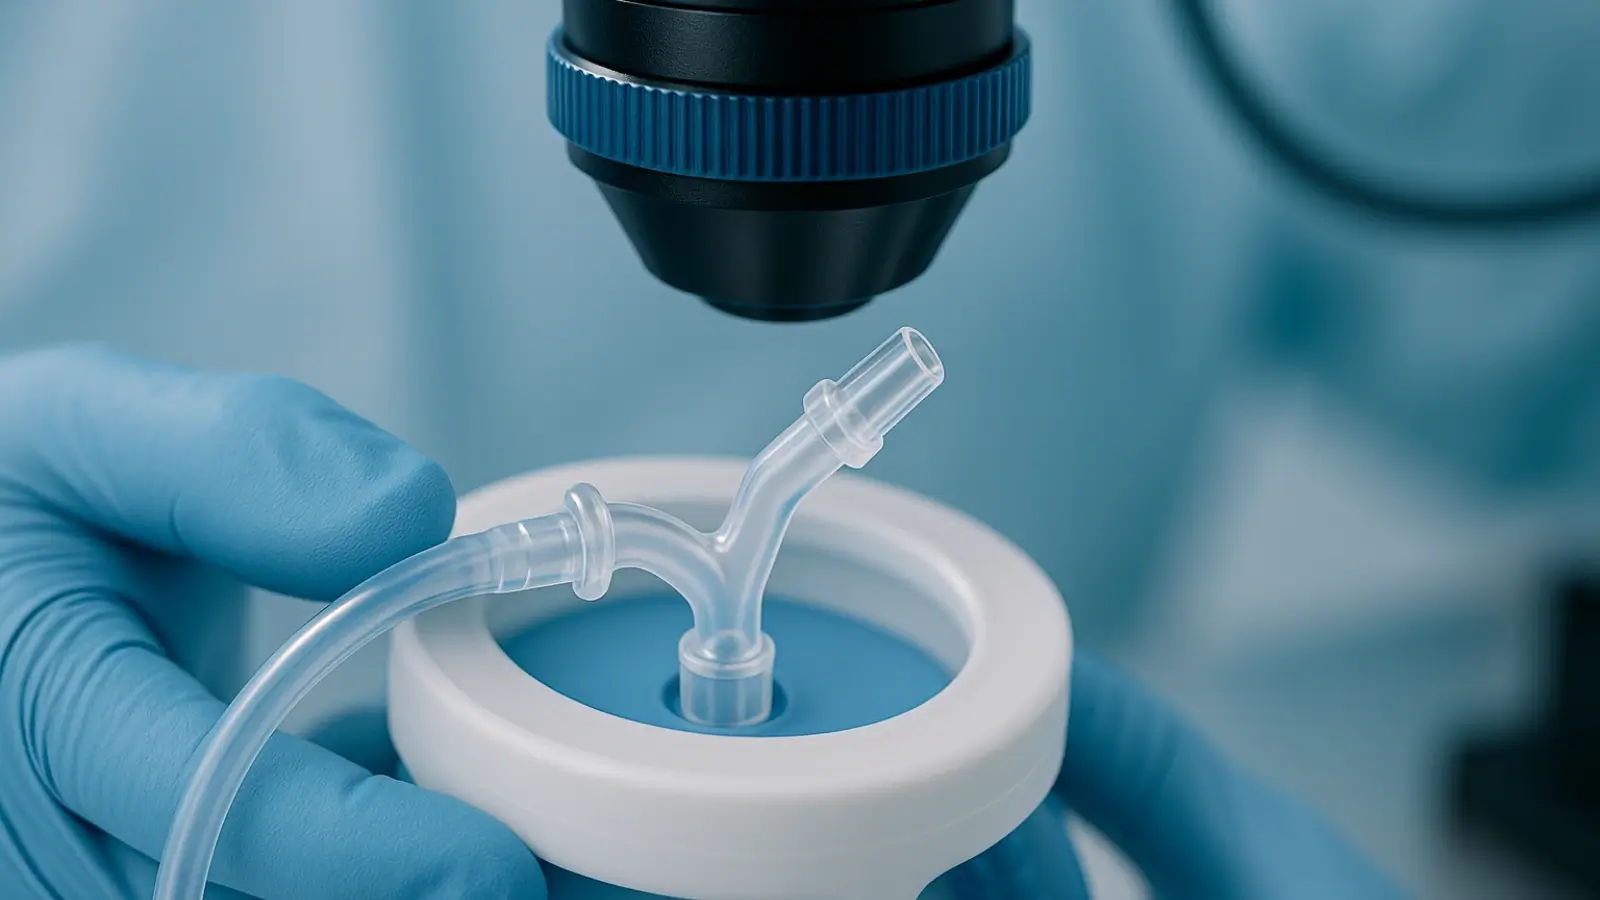


In medical manufacturing, small inaccuracies can have significant consequences. What appears to be a tiny flaw can interrupt the performance of an implant or surgical tool. A slight dimensional variation, a roughened edge, or a faint finish inconsistency can introduce risks that affect both safety and reliability. Ensuring that medical devices perform as intended requires a focus on identifying and eliminating micro-level defects wherever they occur.
Many of the imperfections that threaten device quality are not visible without specialized inspection tools. Burrs left from machining can catch on sensitive tissue. Microscopic cracks or tiny surface cuts can grow over time when exposed to repeated stress. Variations in wall thickness can alter how a device behaves, and inconsistent finishes can create problems for coatings, bonding, or surface treatments. Without a detailed inspection system, these issues can slip past standard visual checks.
Traditional production methods often fall short when precision at the smallest scale is required. Manual operations, conventional machining, and standard cutting techniques naturally introduce slight variations. Operator technique, tool wear, and environmental changes can all affect consistency. A part may appear to meet stated specifications, yet still contain hidden deviations. If inspections are limited or performed only at the end of the process, these flaws can progress through production and may eventually enter clinical use.
To prevent this, manufacturers committed to quality rely on a mix of advanced fabrication technologies, layered inspection processes, and early-stage collaboration. Techniques such as laser cutting and micromachining provide greater uniformity and reduce natural variation. These approaches create cleaner edges, smoother surfaces, and tighter tolerances, reducing the need for corrective secondary processing.
Inspection methods have also become more refined. Instead of using only final checks, many manufacturers use continuous monitoring throughout production. Automated imaging, surface measurement tools, and dimensional verification systems confirm that each component stays within its required limits. With in-process inspection, small issues can be detected and corrected before they grow into larger defects.
Collaboration between engineering, design, and manufacturing teams plays a central role as well. Discussing tolerance sensitivities, material limits, and process constraints early in development helps prevent flaws from being built into the part. This coordination ensures that designs can be consistently produced and accurately inspected.
Strong calibration routines and reliable traceability also help maintain quality. Every tool, fixture, and machine must stay within certified accuracy levels to prevent small shifts that could introduce defects. Continuous improvement strengthens this foundation. By reviewing data, studying recurring issues, and refining production methods, manufacturers build a culture where reducing micro-mistakes is an ongoing priority.
When high-precision fabrication, thorough inspection, and collaborative development come together, they create a protective system that reduces risks too small to see. Over time, these practices build a dependable manufacturing environment where patient safety starts with eliminating the smallest errors.
To learn more about minimizing micro-mistakes in medical manufacturing, view the resource below from Trinity Brand Industries, suppliers of stainless steel shims.